Happy Halloween!
Today I'm sharing another leaf card. I'm mourning the loss of all of the leaves on the trees here, and dreading raking them up to be honest. But they sure were pretty while they lasted!

I've used a number of products to create this card: Impression Obsession stamps Falling Leaves and Thoughts and the Thoughts word die, Brutus Monroe embossing ink and Penny embossing powder, and Color Bursts powders from Ken Oliver and Brutus Monroe.

And my MISTI of course. I always use my MISTI when stamping.
I have a photo tutorial for you today showing my process.

I began this card by laying out all of the leaf and acorn stamps from Falling Leaves in a large pattern on my MISTI. Then closed the lid to pick them up.

I aligned my 140# cold press watercolor paper on my MISTI and used the Creative Corners to secure the paper in case I needed to reink. I did. I needed to reink the stamps with embossing ink to get the ink fully into the textured paper. Those Creative Corners helped ensure that my paper had not moved, and I was restamping in the exact same place.

I covered the ink with Brutus Monroe Penny embossing powder, preheated my heat gun for about a minute then heated and melted the powder. It's such a pretty copper color.
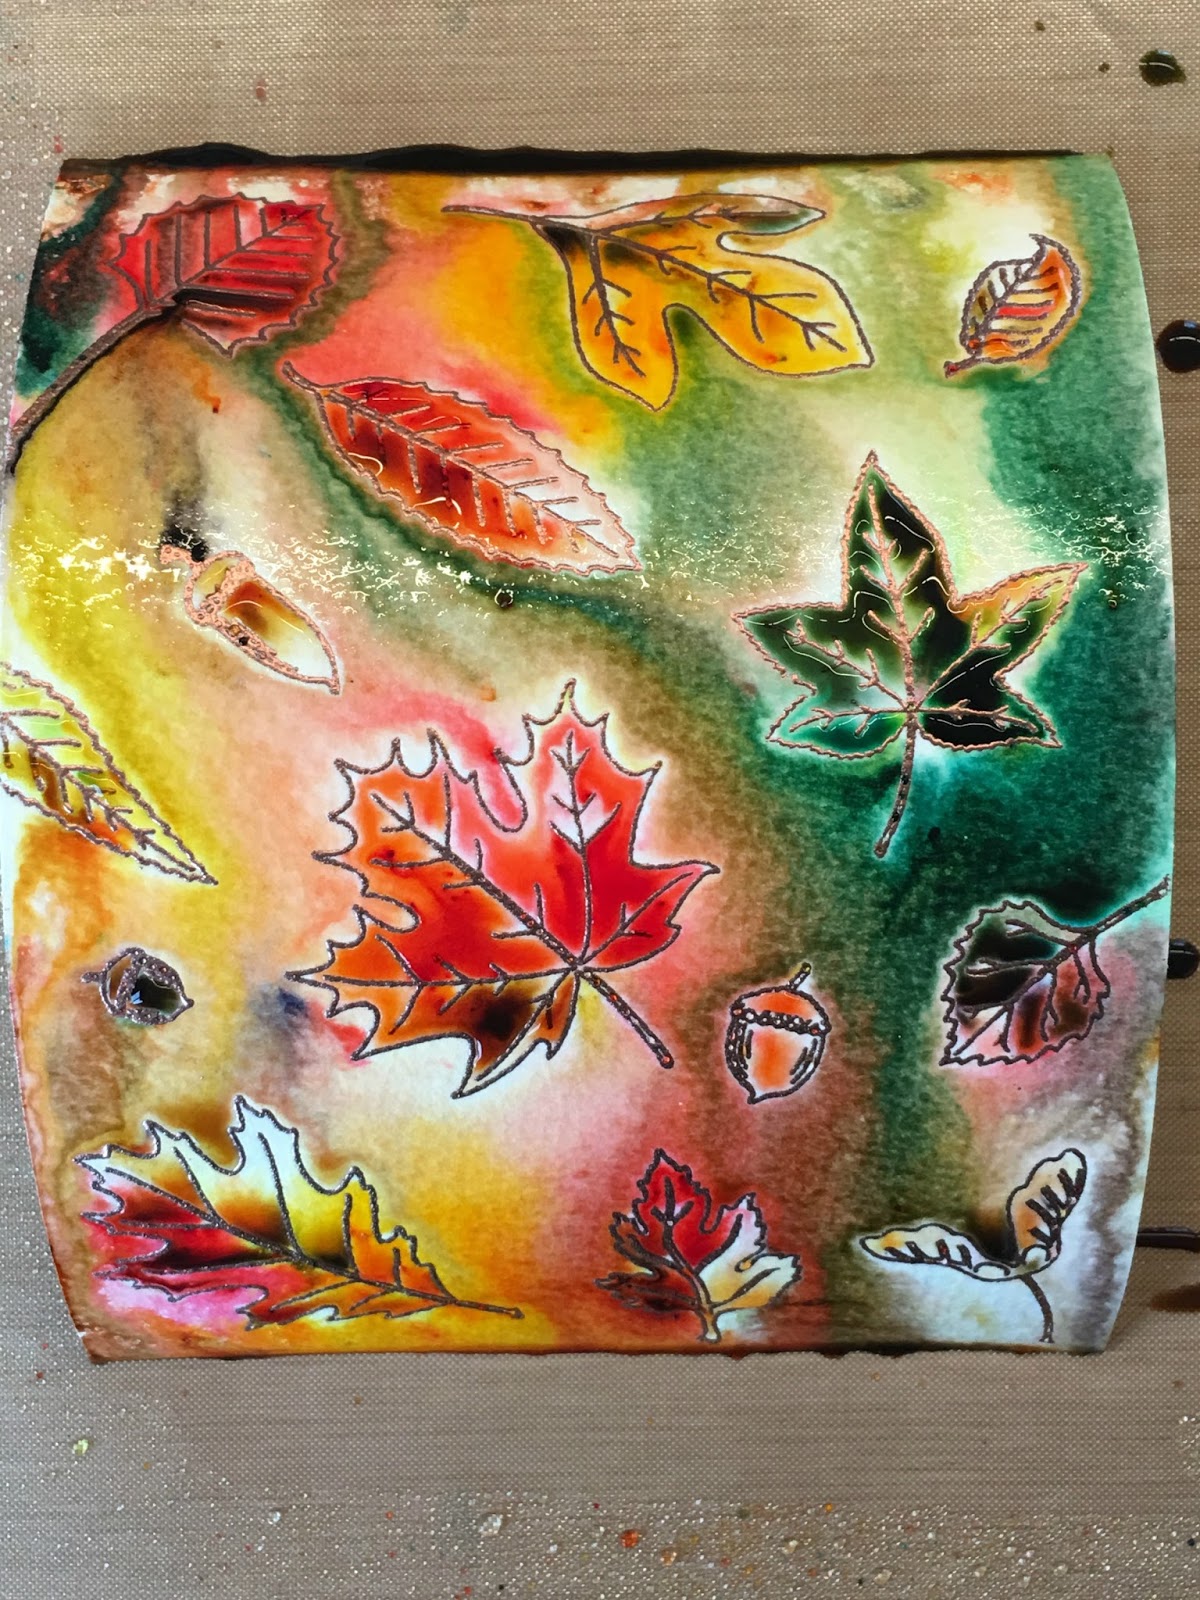
I them sprinkled tiny bits of several Color Bursts powders onto my watercolor panel. I tried to direct the powder in my stamped images, as well as sprinkled some outside the lines too.
I then spritzed it lightly with a fine mist of water and let the dissolve and the colors spread. My watercolor paper curled and helped the colors blend and swirl across the panel.

I used my heat gun to dry and flatten my panel.

My colorful panel is dry, and now I am going to prepare my greeting. I am using the Thoughts word die and coordinating stamps.

Originally I had cut the word from a rich brown card stock, but I decided that it needed a bit of the shine to match the leaves, so I pressed the die cut face down (I only did half, then melted, then did the other half) into my embossing ink pad, and used the Penny embossing powder to create a shiny metallic embellishment that matched my leaves!

I used my MISTI to create a sentiment strip, and used the Creative Corners once again to secure that thin strip of heavy weight white cardstock while I stamped and restamped with charcoal brown ink.
Now that my pieces were ready, it was time to assemble. I had trimmed my panel down to 4" x 5.25". I decided to add a small strip of burlap to my panel as contrast. Here's a tip to add strips to your card straight. Use the grid on the base of your MISTI! The magnets held my panel securely in place while added 2 strips of Scor Tape and my burlap strip. I used the grid lines to line up where to put them.
I wrapped the excess edges of the burlap behind the card panel, securing with tape before adhering the panel to an A2 orange top fold horizontal card base.

I used spray adhesive to adhere the word die cut to the burlap. and 3M foam tape to adhere the sentiment strip.

Thanks for stopping in today.
Have a safe Halloween, everyone!
WOW Chris not only is it a beautiful card - Fall is always my favorite - but you did a wonderful job explaining it so I can understand how you accomplished such beauty. Thank you so much!
ReplyDeleteThis is so full of movement; your background looks like the wind swirling the leaves around. I LOVE this so much! The copper embossing ties in all in so nicely. Such a beauty!
ReplyDeleteAmazing, thanks for the tutorial!
ReplyDeleteAwesome and interesting article. Great things you've always shared with us. Thanks. Just continue composing this kind of post. https://www.scrapmetalsydney.com/copper-recycling
ReplyDelete