Sometimes things are not quite what they appear. Or maybe they are, and you just have to look for them.
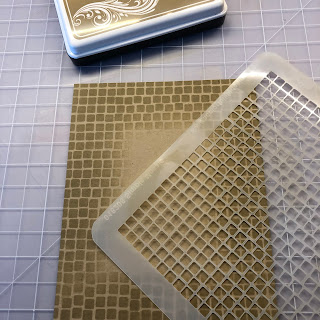
I was playing with this fun geometric stencil, Cubes, from A Colorful Life Designs the other day, when I noticed a stylized poinsettia hiding in the center of the stencil. I knew I had to use it!
So I taped my hot press watercolor panel to the back of the stencil, flipped it over and used Purple Tape to mask off the remainder of the stencil.
I used my Picket Fence blending brush to ink up my poinsettia.
Then I add a thin layer of Nuvo Shimmer Paste over the top with a palette knife. I then carefully removed the tape and stencil from my panel and immediately washed my stencil and palette knife with warm soapy water. You don't want the Shimmer Paste to dry on your tools or stencil!
I set my poinsettia panel aside to dry, and I created a background. Using a side fold kraft card base, and the Simple Mosaic stencil, I inked the edges with Kraft ink and a blending brush. Since this stencil is 6"x6", I had to ink in two sections, the top two thirds, and then I lined up the repeating pattern and inked the remaining third.
Once my poinsettia panel was dry and my Shimmer paste was fully set up, I trimmed the panel to 3.75" x 5", and used my brush and kraft ink to ink the edges, carefully brushing in color to mute the stark white of my watercolor panel, and to highlight my poinsettia. I used my Original MISTI to add the Merry Christmas greeting in Kraft ink; then I cleaned the stamp while it was still on the lid of my MISTI, and after prepping my panel with an embossing powder tool, reinked with clear embossing powder and heat embossed with clear embossing powder.
I adhered my panel to the card base, and added several large rhinestone embellishments to form a flower center.


Wow! Love the traditional look to this Christmas card. I can see the sparkle from here.
ReplyDeleteLovely! How creative you are!
ReplyDelete