Good Morning!
It's a busy weekend at my house. My daughter came home from Michigan last night, and the my son and family (well, minus one) will be here tomorrow! I've been cleaning and washing bedding and grocery shopping to prepare to have an easy, relaxing weekend. Ha! That never really happens, does it...
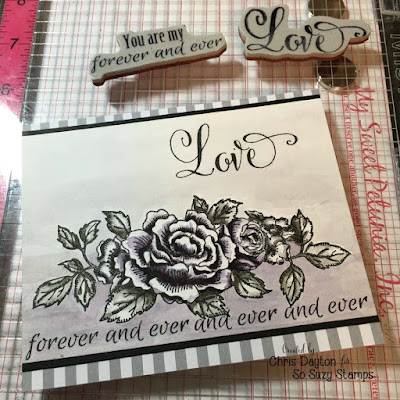
Today I have a card to share for So Suzy Stamps. I used the new Rose Trio stamp from the March release.
This card was made in stages. I tried to step out some photos to share my process. I really wanted to attempt this image monochromatically.
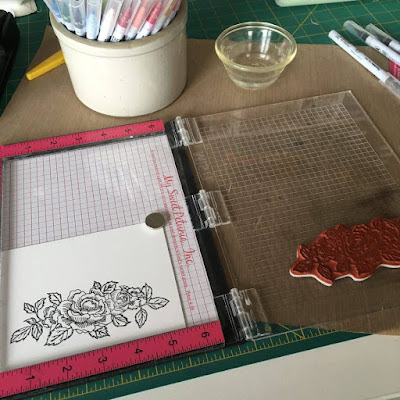
First, I stamped my image using my MISTI with Versafine ink onto a 1/4 sheet of Bristol smooth surface paper.
Here are the Zig Clean Color Real Brush markers that I chose to work with. I limited myself to these three:
First I colored in the leaves with just a bit of the green gray.
Then I used a paintbrush and water to blend the colors out.
Once I had my leaves done, I decided to make a wash for the background. There is nothing worse than doing the background last and catching your colored image and smearing it all over! So I try to remember to do the background early on. (But sometimes I'm just too excited about the image that I forget to do that.)
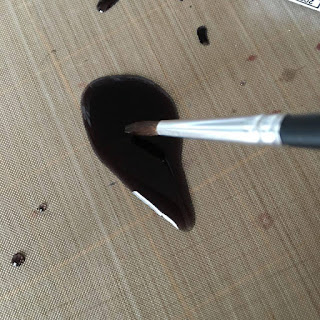
I mixed up a very watery puddle by coloring a little black with the Zig marker onto my craft mat, and then adding a lot of water. I just painted by background in with this; adding a few more layers of color towards the bottom.
Then I began to paint in my flowers with black and natural gray.
Once my image was done, I trimmed my panel to leave room at the top and bottom of a card base for some patterned paper.
I then stamped my sentiments. The Love at the top, and then I got a little creative at the bottom... I wanted just part of the Forever and Ever stamp at the bottom.
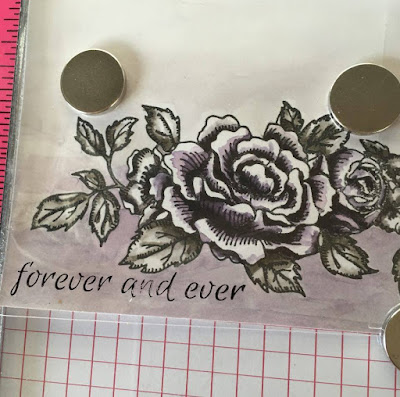
To do this I used my MISTI and some Post-It tape. First I guessed at my placement... Then I made a test run, by stamping on some clear plastic directly over my card panel... This just happens to be a clear bag out of... my trash can. LOL. I recycle! What can I say?
By using some clear plastic directly over your project, you can test stamp multiple times, until you are certain that your stamp is in the exact spot you'd like it to be. If your test is wrong? Just wipe off the plastic, adjust your stamp on your MISTI lid, and try again.
To ink up my stamp, I first use Post-it tape to cover the portions of my stamp that I don't want to use. I ink the stamp, then remove the tape, and then stamp. (Boy does my MISTI need a bath! It's dirty!)
I repeated the "test" process with my plastic scrap and using Post-It tape to cover even more of the stamp to add the "and ever and ever". Using the test and adjust process, you can really get things lined up well.
This is a great way to stretch your stamps and make them more versatile.
I hope you will give it a try and create your "own" sentiments with your stamps.
While my sentiment ink was drying, I trimmed a piece of striped patterned paper to a white card base the I glued my panel to a black mat, then to the card base.
Thanks for stopping by!
Have a wonderful weekend!


No comments:
Post a Comment